29 DIY Pumpkin Decorating Ideas
Fall is the season of crisp air, cozy sweaters, and, of course, pumpkin decorating.
If carving isn’t your thing (or you want to try something different), these 29 DIY pumpkin decorating ideas offer an array of fun alternatives that don’t require a knife.
DIY Pumpkin Decorating Ideas

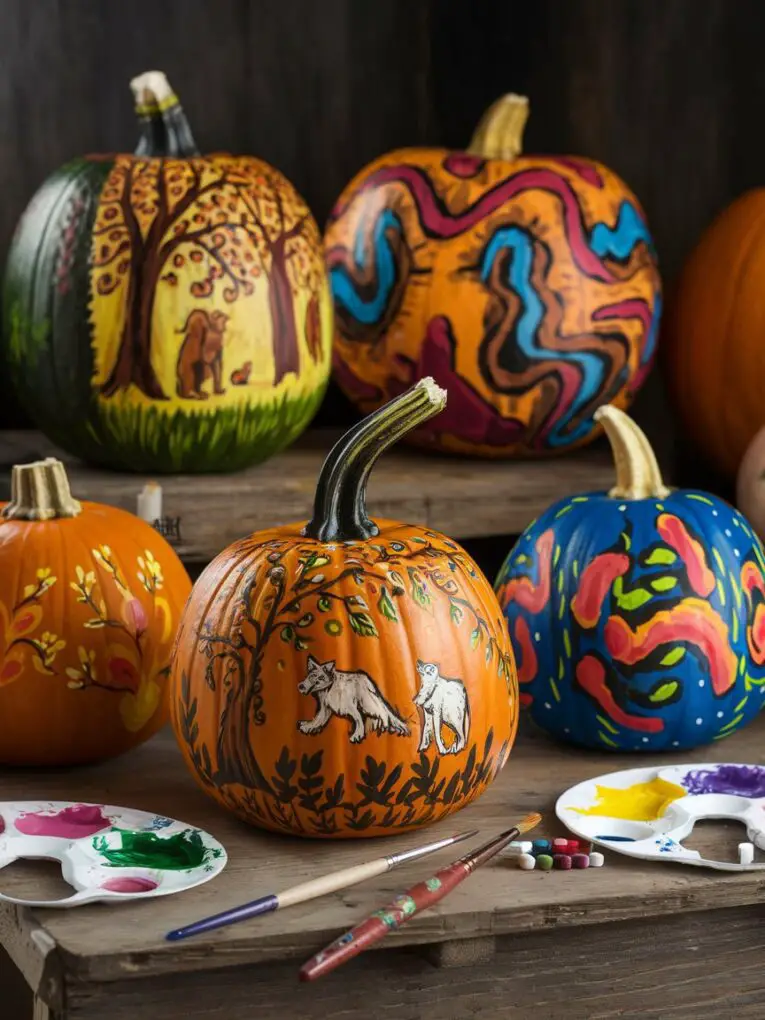
1. Painted Masterpieces
You can create anything from intricate patterns and cute animal faces to beautiful autumn scenes.
Simply gather your painting supplies and let your imagination take over. This method is cleaner and a fantastic way to showcase your artistic skills.
Decorated pumpkins can also last longer, making them perfect for indoor or outdoor displays throughout the season.

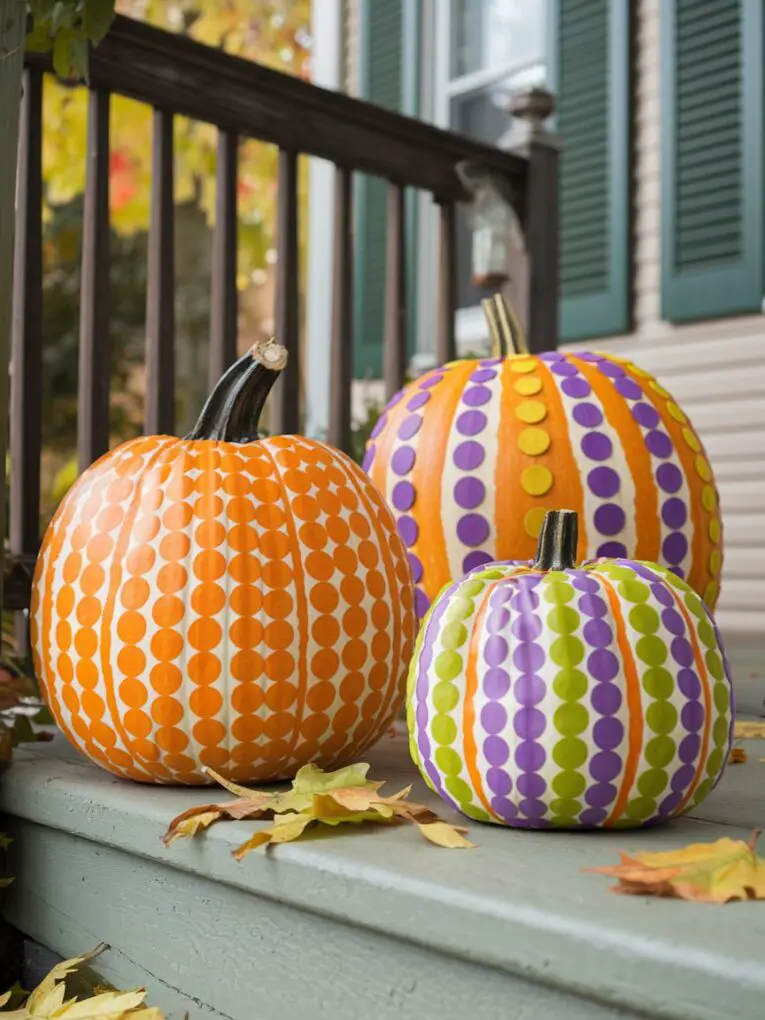
2. Polka Dot Pumpkins
Transform your pumpkins into festive, playful pieces with a splash of polka dots! This easy DIY project involves painting bright, colorful dots on your pumpkins.
Use a sponge or a stencil to keep those circles nice and even. It’s a simple yet effective way to add some whimsy to your Halloween or fall decor.
Perfect for kids and adults alike, this decorating idea combines creativity with a fun, hands-on activity that can bring a pop of color to your seasonal festivities.

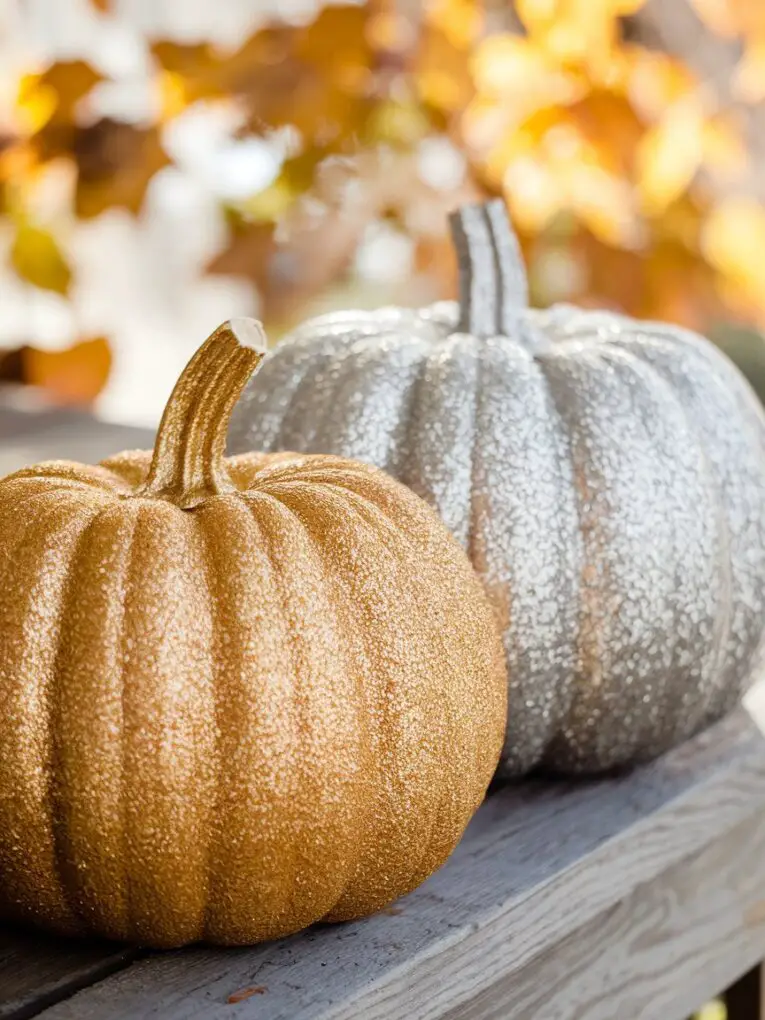
3. Glitter Glam Pumpkins
Glitter glam pumpkins are a dazzling way to bring a bit of shine to your seasonal decor.
Start by coating your pumpkin with a layer of glue; you can place it in specific patterns or cover the entire surface.
Once the glue is applied, sprinkle generously with glitter until you achieve your desired level of shimmer. Shake off the excess and let it dry completely.
A shimmering, eye-catching pumpkin that’s sure to stand out in any setting. It’s an easy and fun way to make your pumpkins sparkle and shine this autumn season.

4. Chalkboard Pumpkins
Transform your pumpkin into an interactive masterpiece with chalkboard paint! It’s as simple as giving your pumpkin a coat of this special paint and letting it dry.
Once ready, you’ve got a blank canvas that you can redesign every day. Write cheerful greetings, doodle spooky faces, or create intricate designs – the possibilities are endless!
This versatile idea is perfect for families, allowing kids to unleash their creativity without the mess of traditional carving.

5. Floral Pumpkins
Creating floral pumpkins is a charming and straightforward way to add a touch of elegance to your autumn décor.
Start by selecting an assortment of faux flowers in your favorite colors. Next, use a hot glue gun to securely attach the flowers to the surface of a craft pumpkin.
Arrange the flowers in a visually pleasing pattern, covering as much or as little of the pumpkin as you like.

6. Decoupage Pumpkins
Decoupage Pumpkins are a trendy and innovative way to elevate your Halloween decorations without the mess of carving.
Start by selecting decorative napkins or tissue paper featuring fun patterns or intricate designs.
Cut out the desired shapes and apply a thin layer of Mod Podge to your pumpkin using a soft brush.
Gently press the paper pieces onto the pumpkin, smoothing out any wrinkles. Once all the pieces are in place, apply another layer of Mod Podge over the top to seal them.

7. Drip-Painted Pumpkins
Transform your pumpkins into vibrant masterpieces with the super easy technique of drip painting.
First, gather your supplies: a pumpkin, various colors of acrylic paint, and a protective surface like a newspaper. Begin by placing your pumpkin stem side up.
Then, carefully pour the paint over the top, allowing it to cascade down the sides. It’s like creating a rainbow waterfall on your pumpkin.
You can layer multiple colors for a mesmerizing effect. Remember to let the paint dry completely before handling.

8. Glow-in-the-Dark Pumpkins
Imagine your front yard transforming into a glowing spectacle this Halloween! Starting with a basic pumpkin, carve out traditional or creative patterns.
Then, coat the pumpkin with glow-in-the-dark paint available at most craft stores. Let the paint dry completely and, for extra effect, add two or more coats.
Place these illuminated pumpkins along pathways or on porches. Come nightfall, your glowing pumpkins will cast a ghostly light, enchanting trick-or-treaters and creating the ultimate eerie atmosphere.

9. Mosaic Pumpkins
To make a mosaic pumpkin, start by gathering your materials: small tiles, beads, or broken CD pieces. Clean and dry your pumpkin thoroughly.
Apply a strong adhesive like craft glue or hot glue in sections, pressing your mosaic pieces firmly into place.
Get creative with your pattern—try spirals, stripes, or random designs. Allow the adhesive to dry completely before handling your pumpkin.

10. Ombre Painted Pumpkins
If you’re looking to add a stylish twist to your pumpkin decorations this season, try creating ombre-painted pumpkins.
The process is simple yet impactful—select a color palette that suits your decor or personal taste.
Start by painting the top of the pumpkin with the lightest shade and gradually blend into darker hues as you move down.
This technique gives a seamless transition from light to dark, creating a visually striking effect.

11. Spider Web Pumpkins
Try creating Spider Web Pumpkins. Start by selecting a pumpkin that has a smooth surface.
Using puff paint, meticulously draw intricate spiderweb designs all over the pumpkin.
This paint is perfect as it allows you to create raised, detailed lines that resemble real spider webs. Once the paint is dry, add small plastic spiders for that extra creepy effect.
These elements combine to create a visually striking, spooky pumpkin that’s sure to impress both kids and adults.

12. Button Pumpkins
Imagine adding a quirky, colorful twist to your Halloween decorations with our Button Pumpkins idea.
Simply gather buttons of different sizes and colors, and let your creativity run wild.
Glue these buttons onto your pumpkin in various designs, whether that’s fun faces, geometric patterns, or cute shapes like hearts and stars.
This craft is entirely customizable—perfect for kids and adults alike. Not only does it bring a pop of color to your pumpkin display, but it also allows for endless creativity.

13. Lace Covered Pumpkins
Transforming your ordinary pumpkin into a stunning centerpiece is easier than you might think with the lace-covered pumpkin idea.
Begin by selecting a lace pattern that speaks to your style. Drape the lace over the pumpkin, ensuring it fits snugly.
You can use fabric glue to attach it or opt for small pins to secure the material in place. This method provides a delicate, sophisticated appearance.

14. Woodland Creature Pumpkins
To bring this idea to life, start by selecting a pumpkin and gathering your felt and craft supplies.
Cut out felt shapes for ears, eyes, and noses, and use hot glue to attach them to your pumpkin. Get creative—use small twigs for antlers or buttons for added detail.
Finish with a touch of paint to add realistic features and bring these adorable creatures to the forefront of your autumn décor.

15. Metallic Pumpkins
Transform your pumpkin décor with a touch of modern elegance using metallic spray paint.
Look for colors such as gold, silver, or copper to give your pumpkins a sophisticated sheen that catches the eye.
Begin by thoroughly cleaning your pumpkins to remove any dirt, then lay down newspaper or plastic to protect your workspace.
Apply the spray paint in light, even coats to avoid drips, allowing each layer to dry completely before adding another.

16. Push-Pin Art Pumpkins
For those looking to add a creative twist to their pumpkin decorating, push-pin art offers a unique and fuss-free approach.
Simply take a handful of push-pins and start pressing them into the pumpkin’s surface to craft detailed designs.
Best of all, there’s no need for carving tools or messy clean-ups. It’s an easy, family-friendly activity that allows for intricate customization without the usual hassle.

17. Mummy Pumpkins
Try making mummy pumpkins! Start by wrapping a pumpkin with gauze, making sure to cover it well, but not too neatly—mummies are messy.
The key lies in layering the gauze to give it a realistic, ancient look. Once wrapped, use glue to attach googly eyes.
For added creepiness, let some of the gauze hang loosely at the bottom. It’s a fun, easy project perfect for kids and adults alike.

18. Studded Pumpkins
For a trendy twist on pumpkin decorating, try creating studded pumpkins. Start by picking out a pumpkin with a smooth surface—this makes it easier to work with.
Grab some metal studs or spikes from your local craft store. You can opt for silver, gold, or even black studs, depending on your style.
Press the studs firmly into the pumpkin’s skin, spacing them evenly or creating patterns like stripes or geometric shapes.
If you’re feeling adventurous, you can mix and match different types of studs for a varied look.

19. Yarn-Wrapped Pumpkins
Transform your pumpkins with a simple yet stylish technique: yarn-wrapping.
Begin by selecting a range of colorful yarn or twine that suits your desired aesthetic, whether it’s a vibrant mix or a subtle, muted combination.
Secure one end of the yarn at the pumpkin’s stem, then wrap it tightly around the pumpkin, ensuring it covers the entire surface for a cozy, homey feel.

20. Chic Monogram Pumpkins
If you’re looking to make your pumpkins stand out this season, try adding a chic monogram to them.
It’s a simple yet impactful way to personalize your decor. First, select a pumpkin and clean its surface.
Then, decide on your initials or a favorite quote to feature. Use metallic or bold paint for eye-catching contrast.

21. Sequined Pumpkins
Try decorating them with sequins. This DIY idea is perfect for adding a touch of glamour to your fall décor. Start by picking out your favorite colors and sequin sizes.
You can create a specific pattern or simply glue them on randomly for a fun, sparkly effect. Use a strong adhesive to ensure the sequins stay in place.
This project is not only easy but also a great way to involve the whole family. A pumpkin that shines and catches everyone’s eye, making it the star of your Halloween decorations!

22. Bejeweled Pumpkins
For a striking visual impact this Halloween, try transforming your pumpkins into bejeweled masterpieces.
Start by picking up a bag of rhinestones or faux jewels from your local craft store.
These sparkly accents can be meticulously arranged into detailed patterns or haphazardly dispersed across the pumpkin’s surface.

23. Nature-Inspired Pumpkins
Try nature-inspired decorating! Start by gathering leaves, acorns, and pinecones from your backyard or a local park.
Use hot glue to securely attach these elements to your pumpkin’s surface. If you’re in the mood for a pop of color, paint the natural items in vibrant hues before gluing them on.
This method not only brings the outdoors into your home but also creates a stunning and rustic look that’s perfect for the fall season.
Your nature-inspired pumpkin will surely stand out and impress your guests!

24. String Art Pumpkins
To achieve the striking look of string art pumpkins, start by painting your pumpkin if desired for a solid background color.
Hammer small nails halfway into the pumpkin in the outline of your chosen design.
Using brightly colored thread, tie a knot around one nail and begin weaving the thread back and forth between the nails to form your shape.
Tighten as needed to maintain the pattern. This technique allows for endless creativity and results in a truly unique and eye-catching decoration.

25. Plaid Pumpkins
A simple yet striking way to decorate your pumpkins this fall is by giving them a plaid makeover.
Start by selecting a few different paint colors that complement your home’s interior.
Think warm tones like burgundy, forest green, or mustard yellow. Using painter’s tape, create intersecting lines on your pumpkin to mimic a plaid pattern.
Paint the sections between the tape with your chosen colors, allowing each layer to dry before removing the tape.

26. Sticker Pumpkins
Transforming a plain pumpkin into a festive masterpiece is effortless with stickers. This DIY project is perfect for children and parents looking for a creative, mess-free activity.
Simply grab a variety of stickers—think Halloween ghosts, autumn leaves, or shimmering stars—and let the kids’ imaginations run wild.
This approach not only keeps little hands busy but also results in unique and personalized pumpkins.

27. Crayon-Melt Pumpkins
Here’s a fun and easy way to add some vibrant color to your pumpkins this fall. First, gather some crayons and glue them around the top of your pumpkin.
Make sure they are secure. Then, take a hairdryer and, on a low heat setting, aim it at the crayons.
Watch as the melted wax flows down, creating a stunning rainbow cascade. It’s a simple technique that kids and adults alike will love, turning your pumpkins into artistic masterpieces.

28. Tissue Paper Pumpkins
Transforming your pumpkin with colored tissue paper is both easy and stunning. Start by applying a layer of glue to your pumpkin.
Next, tear or cut your tissue paper into pieces—rectangles, squares, or more intricate shapes.
Layer these pieces over your pumpkin, slightly overlapping to create vibrant, stained-glass effects. Add as many layers as you like for depth and texture.

29. Fabric Pumpkins
Imagine transforming your pumpkins into chic, fabric-covered art pieces.
Start by selecting a range of fall-themed fabrics like plaid, burlap, or floral prints, which evoke the essence of the season.
With a pair of scissors, cut the fabric into manageable pieces. Now, generously apply Mod Podge onto the pumpkin’s surface.
Carefully press each fabric piece onto the pumpkin, smoothing out bubbles and ensuring it adheres well. The Mod Podge will dry clear, leaving a stunning textured appearance.

